Violinmaker-in-Residence #21
 On a recent visit to the Museum of Fine Arts in Boston, I admired a painting of a violinmaker applying varnish to a violin. I was drawn to this painting, as well as to a similar painting of Stradivari from the cover of Violin Iconography of Antonio Stradivari by Herbert K. Goodkind, because it shows the focused attention of the maker, the voluptuous shape of the almost completed instrument, and the color and excitement of the varnish.

The Badger Brush from Germany
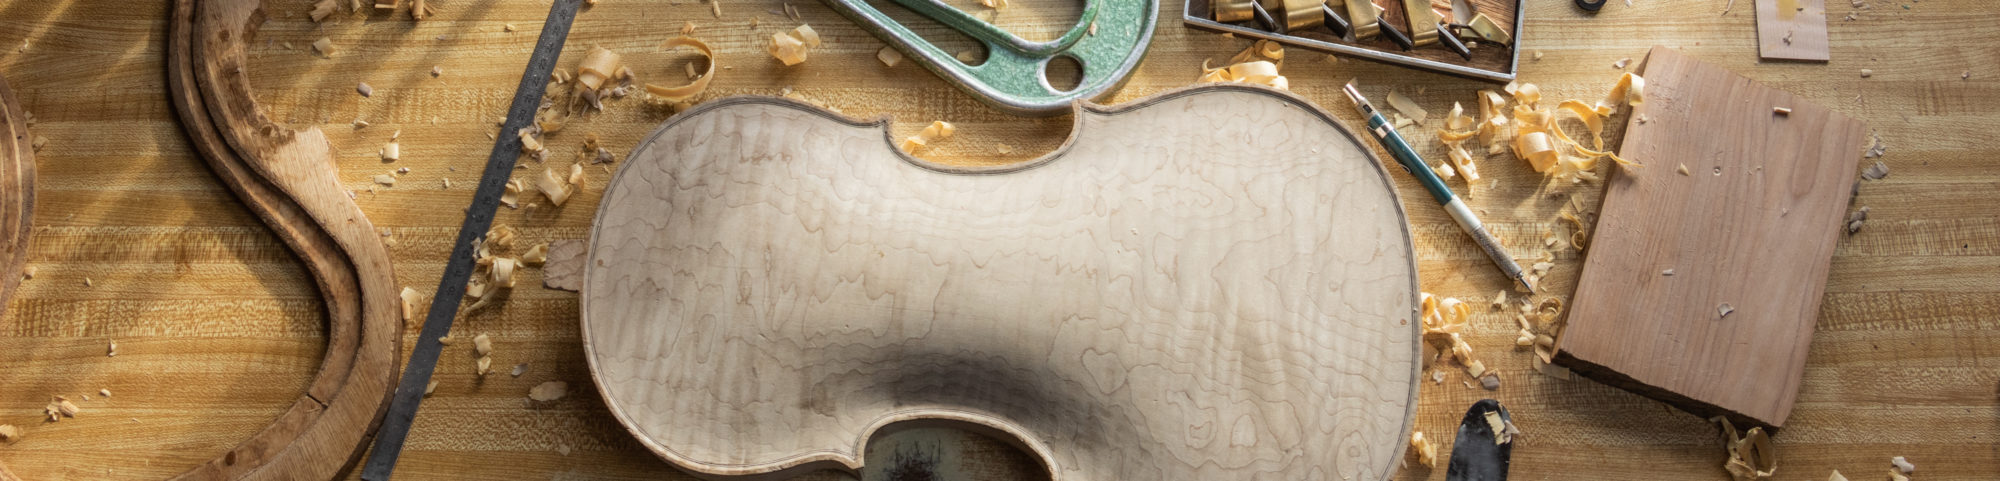
The varnishing process I use is identical to what is in these images. The brush I use is one I purchased in Germany almost 50 years ago and has coated almost 1000 instruments. The soft badger hair holds the varnish well and spreads an even, flowing coat.
Spirit varnish has the advantages of being easy to thin to a good working consistency and to adjust hardness and elasticity (see blog #20). It has the disadvantages of not leveling naturally and of softening already applied layers. The application of the varnish must be quick and even with no opportunity to go back and fix what has already been applied. A trustworthy brush is essential.

Applying the First Coat of Varnish to the VSO Violin
Spirit varnish also has the advantage of drying quickly so a light sanding between once-a-day coats is possible. These sandings help level brush texture and any other lumps or bumps that may occur, blemishes that would worsen as future applications build up on them.
I have several color mixes of varnish that I select from as the varnishing proceeds. I started the VSO violin with an orange amber base and built a more robust red-brown above it. After the base coat I apply the varnish selectively, following the wear pattern, in this case what the “Gariel” Strad looks like today.
When the color has reached the desired depth and intensity in the areas of thickest varnish in the original, I remove varnish from the edges and other worn areas with a combination of burnishing, chipping, abrasion and polishing. I then apply a patina of oil colors to simulate the build up of dirt in corners and crevasses and do a bit of retouching with earth colors. Two further coats of a fairly clear varnish protect what is underneath. After this has sufficiently dried for about a week, the surface is rubbed out with pumice and oil. This leaves a somewhat flat finish, which I will generally French polish to a higher sheen after several months of additional drying. Sometimes the instrument never makes it back for this polishing. It is off on its own and will find its own look.
To follow this blog, please send us an email and we’ll keep you informed.
Let me know if you have suggestions of ways to make these residencies more valuable for you. If you have comments or questions, please send them to us via email.